2.0 KiB
Chaining Selectors
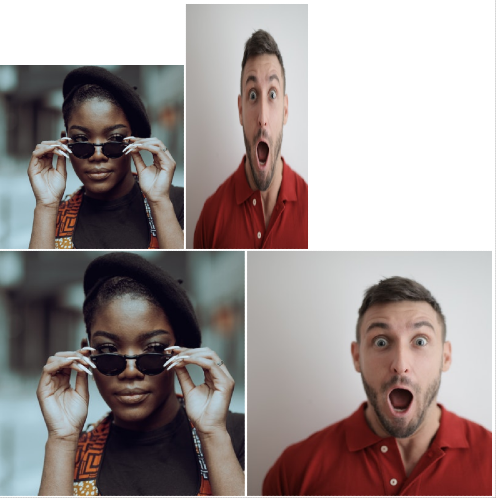
Credits for the images in this exercise go to Katho Mutodo and Andrea Piacquadio.
With this exercise, we've provided you with a partially completed HTML file which you'll configure. The purpose of this exercise is to focus on understanding how to chain different selectors, rather than solely adding attributes. Additionally, you'll have the chance to review your HTML images.
We have two images for you to style, each with two class names, where one of the class names is shared. The goal here is to chain the selectors for both elements, so that each have a unique style applied, despite using a shared class selector. For example, you want an element that has both X and Y to have one set of styles, while an element with X and Z has a completely different set of styles. We included the original images as well, so that you can see how the styles you will be adding look in comparison, so do not add any styles to them.
Note: Download and group the images in a separate "images" folder. Ensure correct image source paths in your HTML to avoid image loading issues. This is crucial for a cleaner project structure.
The properties you need to add to each element are:
- Make the element with both the
avatarandproportionedclasses 300 pixels wide, then give it a height so that it retains its original square proportions (don't hardcode in a pixel value for the height!). - Make the element with both the
avataranddistortedclasses 200 pixels wide, then make its height twice as big as its width (here you should hardcode in a pixel value).
Desired Outcome
Self Check
- Did you properly chain class selectors for each rule?
- Does the
proportionedimage retain its original square proportions? - Does the
distortedimage end up looking squished and, well, distorted?
